How to paint a piece of furniture that sees a lot of use.
You'll need:
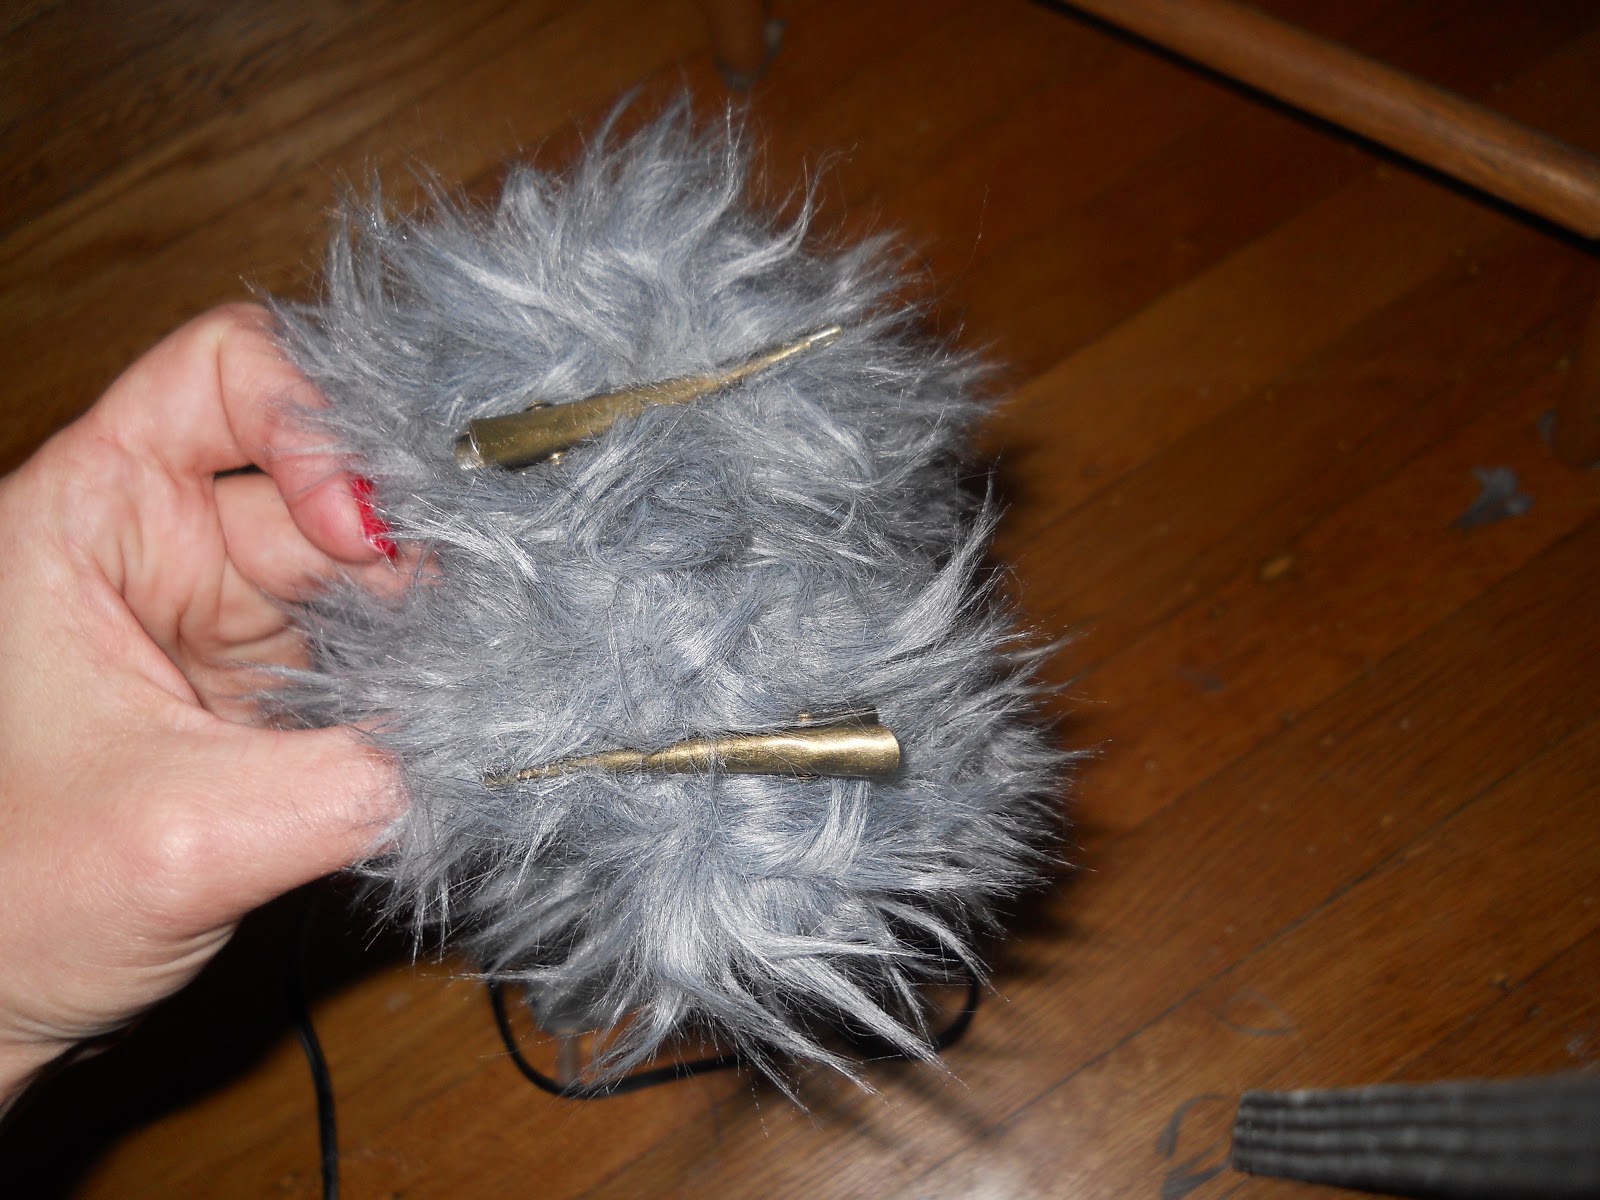
Steel Wool
Sandpaper
Primer
Paint
A clear polyurethane varnish
Paintbrushes
Paint Roller
My dining room table was looking pretty sad. Over the years, several incidents with hot beverages and nail polish removers had left the top looking pretty bad. Additionally, the part I use most no longer matched the extra leaves. I usually keep it circular, but it turns into an oval with the leaves in, as you can see, the part that had seen the most use had become discolored.


I decided to paint it because it's faster and easier than stripping and re-staining it.
First, I carefully cleaned all the surfaces and used steel wool to really get into the crevices. then I used sandpaper to lightly sand everything. I wasn't trying to be thorough, just wanted to, "scratch up" the surface to make the primer stick.

Next, I coated it all with a coat of white primer.


I decided to flip the color scheme. The top had a clear varnish and the legs were painted a pale cream color. Making the top light and the legs dark seemed like a great way to update it. I chose a cooler cream and a grayish taupe to switch to a slightly more contemporary color palette.
Once the primer had dried thoroughly, I began painting, starting with the legs.
Before:
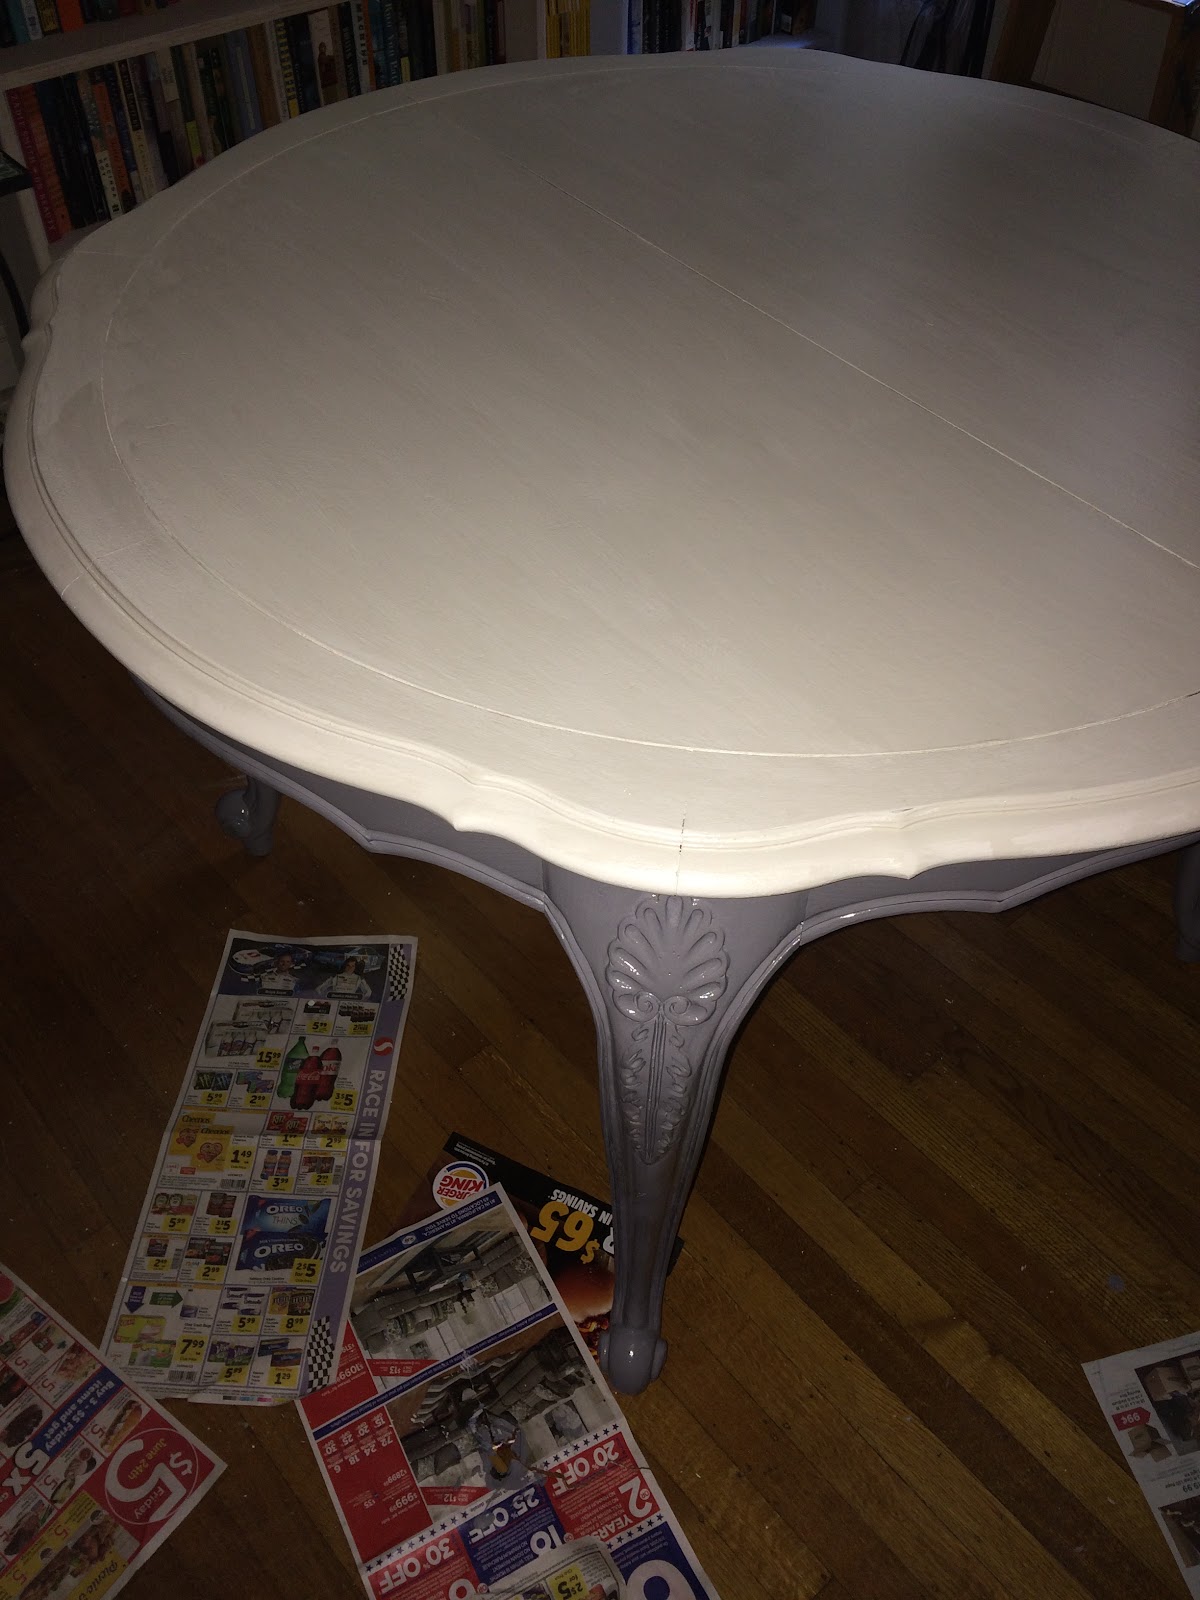
 With just one coat of paint, the color still not fully opaque:

After:

I had let the primer dry overnight, and painted thin coats on the legs, doing both throughout a single day, with a few hours of dry time between them. There is enough design on the legs of this table that I had to layer very thin layers, lest I lose some detail in the gloopy paint. I used two different brushes to get a thin finish, a bigger one to get some paint on, and a smaller one to clean up drips and spread any paint that puddled.
Next, I started on the top. I used a roller for the top, and the first layer of paint went on with just the roller.

For the second layer, I used the roller to layer the paint on but went over it with a brush to even it out, as the roller surface doesn't lay the paint down smoothly.
I left the whole thing to dry overnight once again, then added a thin coat of clear varnish. I layered a second coat of clear on the top, leaving the legs with just a single, thin coat. I found that it was more challenging to get the varnish off my brushes, so I'd recommend using old brushes for this step if you have any.
I let that dry overnight, then pulled the leaves back out of the table. Here's the finished project:


Detail:

You'll need:
Steel Wool
Sandpaper
Primer
Paint
A clear polyurethane varnish
Paintbrushes
Paint Roller
My dining room table was looking pretty sad. Over the years, several incidents with hot beverages and nail polish removers had left the top looking pretty bad. Additionally, the part I use most no longer matched the extra leaves. I usually keep it circular, but it turns into an oval with the leaves in, as you can see, the part that had seen the most use had become discolored.


I decided to paint it because it's faster and easier than stripping and re-staining it.
First, I carefully cleaned all the surfaces and used steel wool to really get into the crevices. then I used sandpaper to lightly sand everything. I wasn't trying to be thorough, just wanted to, "scratch up" the surface to make the primer stick.


I decided to flip the color scheme. The top had a clear varnish and the legs were painted a pale cream color. Making the top light and the legs dark seemed like a great way to update it. I chose a cooler cream and a grayish taupe to switch to a slightly more contemporary color palette.
Once the primer had dried thoroughly, I began painting, starting with the legs.
Before:


After:

I had let the primer dry overnight, and painted thin coats on the legs, doing both throughout a single day, with a few hours of dry time between them. There is enough design on the legs of this table that I had to layer very thin layers, lest I lose some detail in the gloopy paint. I used two different brushes to get a thin finish, a bigger one to get some paint on, and a smaller one to clean up drips and spread any paint that puddled.
Next, I started on the top. I used a roller for the top, and the first layer of paint went on with just the roller.

For the second layer, I used the roller to layer the paint on but went over it with a brush to even it out, as the roller surface doesn't lay the paint down smoothly.
I left the whole thing to dry overnight once again, then added a thin coat of clear varnish. I layered a second coat of clear on the top, leaving the legs with just a single, thin coat. I found that it was more challenging to get the varnish off my brushes, so I'd recommend using old brushes for this step if you have any.
I let that dry overnight, then pulled the leaves back out of the table. Here's the finished project:

Detail: